


Chapter 3: Planning the Vineyard
Keeping True to my DIY Nature

Chapter 1: Living a Wine Encore
Chapter 2: Moving to the Valley
As my wine encore tale unfolds, you should know I dread having to walk a fine line between my nerdy proclivities and desire to convey stories that readers with only a passing interest in the subject might find engaging. I may occasionally drift between both worlds, but hopefully, you'll learn a few things, and I won't embarrass myself.
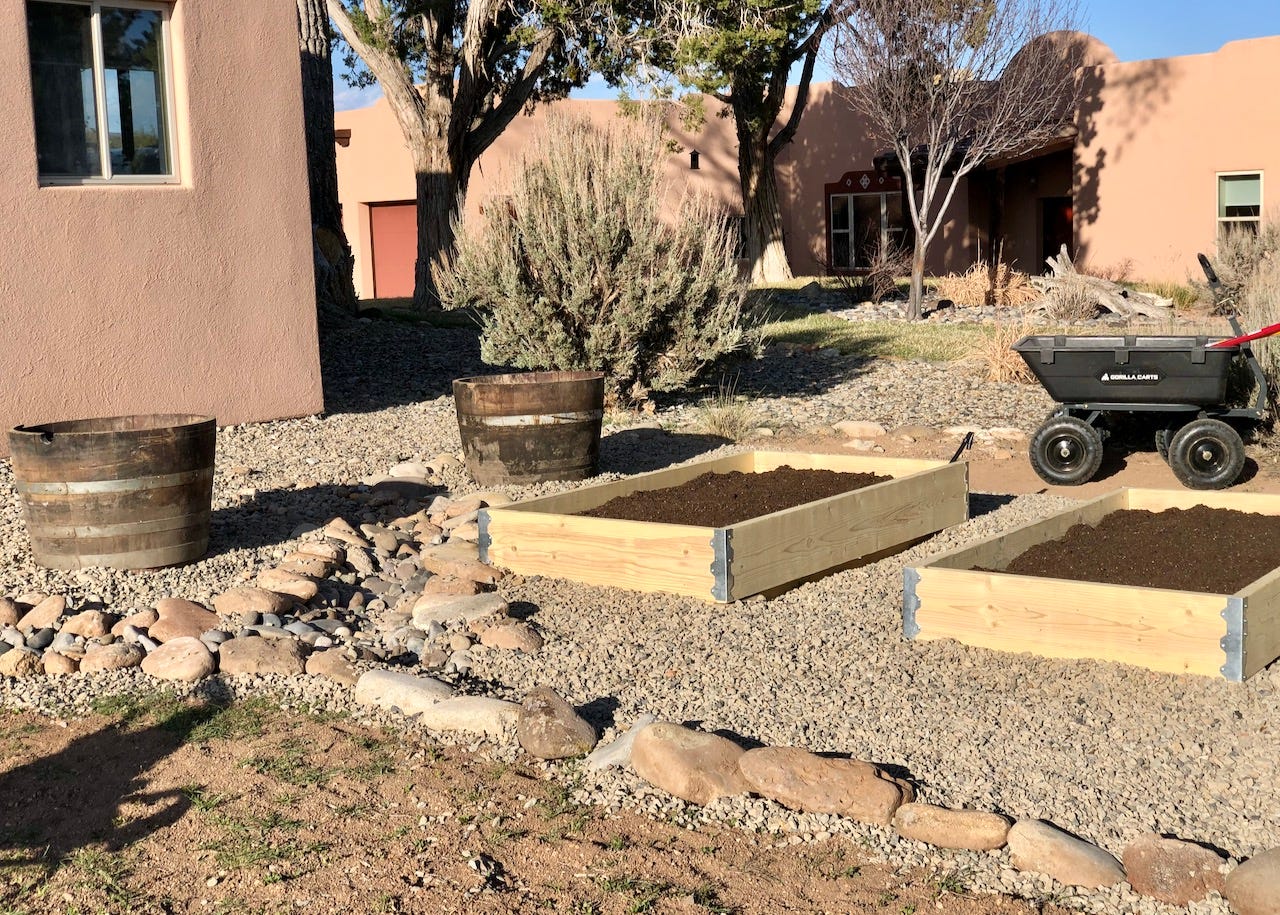
Know that "do it yourself" (DIY) is my brand.
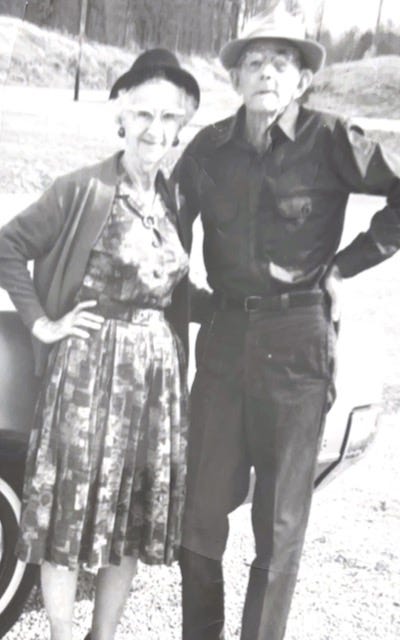
During the Depression, my paternal grandfather was a hard-scrabble farmer in northeast Texas near the Oklahoma border. John Vanderburg, known as Mr. John, was a sharecropper who also tended to cotton on a small field he owned. He and my grandmother, Sally Marshall, tended to the usual assortment of farm animals and produce, raising four children during that difficult time. As my Aunt Mary Jane told me as a child, "Eggs were the only money we had. "
DIY was all there was during those times.
My dad was the youngest and was raised helping out around the farm, plowing cotton fields behind a mule. As a father, he kept a city-front yard vegetable garden before it was vogue. Turning soil, pulling weeds, and working on the opposite end from my dad on a crosscut saw represented a small sampling of my assigned tasks.
During my formative adult years, I never shied away from home projects. Painting the exterior of our tall Victorian house or sharing the kitchen remodel duties with a contractor were pursued with abandon. But my true passion has always been creating outdoor spaces. Over the years, I systematically created a terraformed landscape with an extensive assortment of vegetables, herbs, perennials, and fruit trees. Our three-lot Denver property overlooking downtown transformed into a country oasis.
Now older and engaged in a wine encore, my lifelong DIY activities played a core role in informing my vineyard execution plans. However, knowing not to leave things to chance, I consulted sources of expertise diligently, utilizing online and written research, speaking with growers, and participating in online webinars. The research helped round out my command of the requirements and challenges ahead.
Or so I hoped.
We took possession of our new property in western Colorado's North Fork Valley in late fall 2020, and I was eager to capitalize on the 2021 growing season.
Why the rush?
A new vineyard takes three years to produce a limited harvest of grapes. Conditions dependent, years four and five provide a more robust harvest. I wasn't getting younger; winter is a great time to plan and prepare. During the first season, I must confirm the vineyard location, determine the necessary soil preparation, decide which grapes to plant, lay out and plant the vines, install the irrigation system, and construct a wildlife fence before the season closes.
First, even a DIY’er like myself could figure out the best vineyard location because there were only two options on our 14-acre spread.
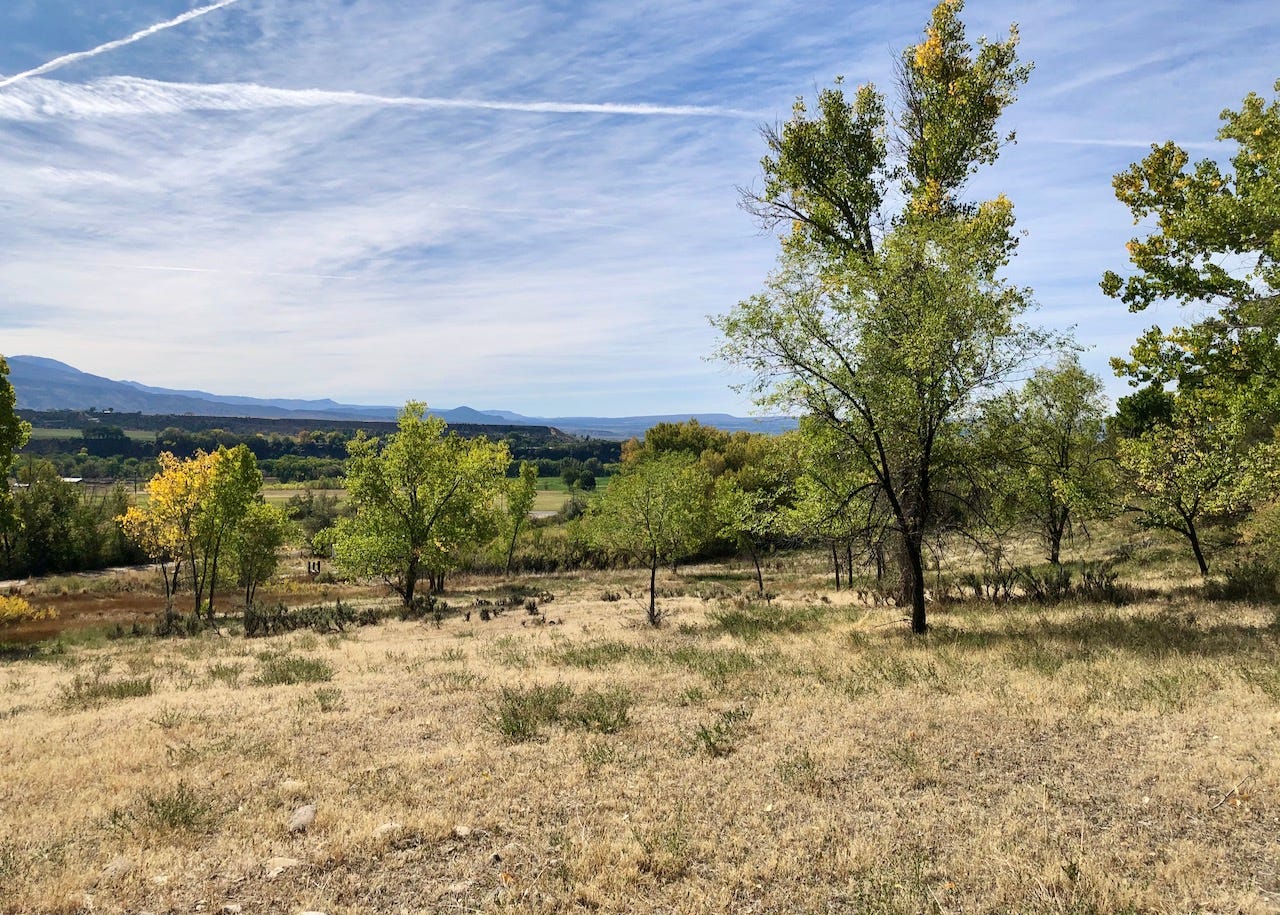
The first is where the house is located, surrounded by two acres, 200’ off the valley floor on the edge of Sunshine Mesa. The second area, the Lower 40, comprises the remaining acreage situated below the mesa, characterized by ample open space and a gradual east-facing slope.
I was first drawn to the Lower 40 due to its ample acreage. However, I didn’t know my physical and time restraints for planting and maintaining a vineyard. The approach I had in mind would start by laying out and planting 250 vines, approximately a third of an acre. Future vineyard expansion would be an easy option if the effort were manageable.
After carefully surveying the Lower 40 and working through the requirements, arguments against it mounted.
The land had never been tilled and was full of large rocks and boulders. With the right equipment, this could have been handled. The site didn't have good mid-to-late afternoon sun exposure. The adjacent terrain rose steeply to the southwest, meeting the mesa. Full-day exposure is essential, especially in September, when the sun begins its southerly trek towards winter. In late summer, the grapes are making their final sugar push to harvest. If sun availability is cut short earlier in the day, ripening could become a seasonal challenge. There was accessible water, with an above-ground spring adjacent to the site, but no infrastructure existed to capture and distribute it for irrigation purposes. And when push comes to shove, did I want to travel up and down the 200-foot slope to work the vineyard?
I could certainly develop the Lower 40 as a seasonal campground.
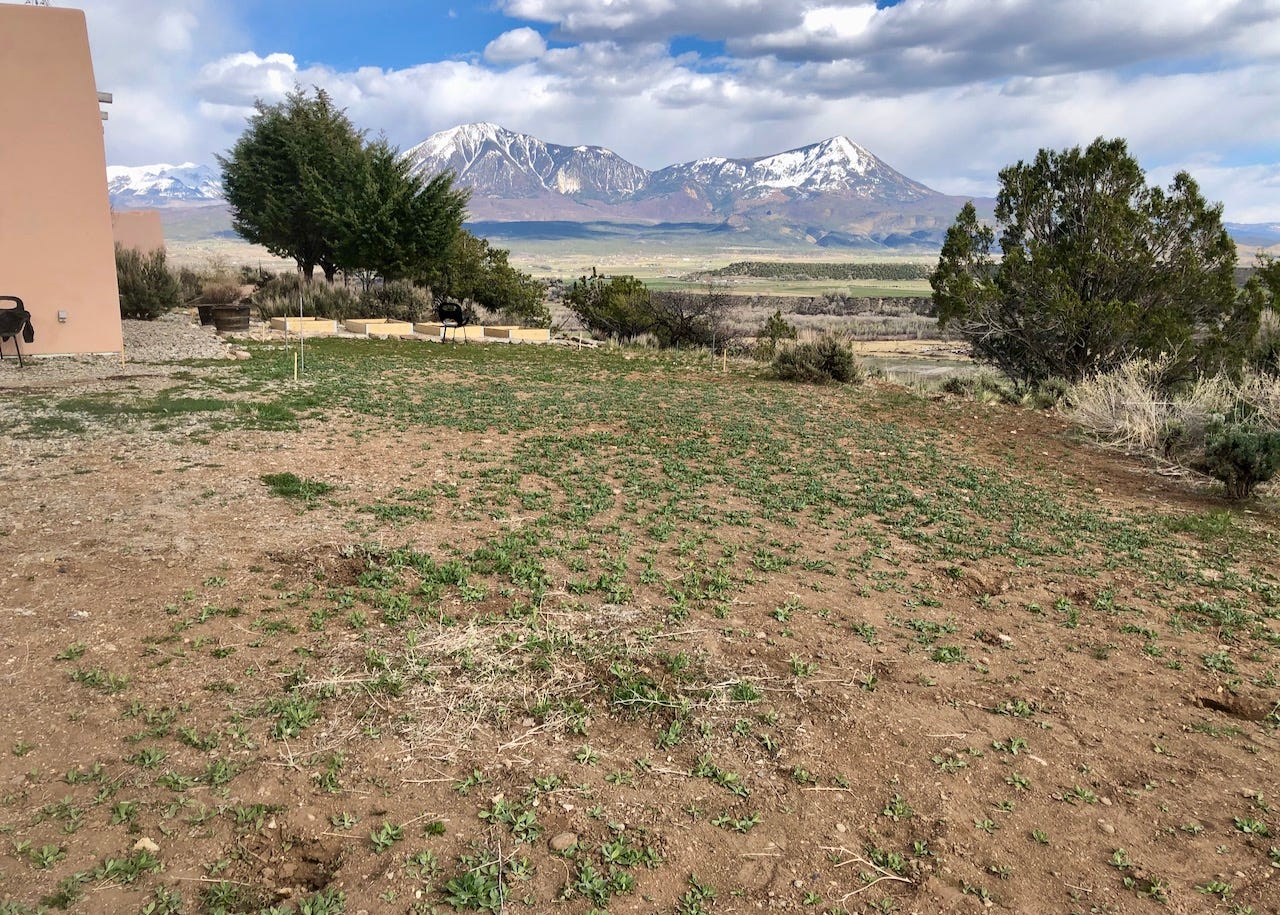
The other candidate on the mesa was located south and west of a detached garage, which we refer to as the Shop. The area had not been used agriculturally, though the land was in good shape, containing scattered weeds, brush, and rocks—always the rocks. The site had excellent sun exposure with a slight south-facing slope. Additionally, there was nearby water availability for irrigation. The Shop contains our water system, a 1,500-gallon cistern fed by spring water. The only drawback was the site’s size. It was small, with no room for expansion. Initial site measurements suggested it could support 160 vines.
Top of the mesa it was.
Next, I needed to confirm the type of grapes to plant and order the vines. It was time for help from the experts. When deciding what vines to cultivate, it's essential to consider the location, climate, soil, and what local growers have success with.
The North Fork Valley is recognized as a cool-climate growing region. The elevations in the valley range from 5,400 feet to nearly 6,400 feet in select areas. It is the highest grape-growing region in North America and one of the highest in the world. Due to the elevation, the diurnal shift is high. Diurnal shift is the difference between the day's high and low temperatures—the greater the shift, the better the balance between acid and sugar in the maturing grapes and, in turn, the resulting wine.
In the early years of the valley's vineyard cultivation, growers focused on European cultivars within the Vitis Vinifera family, which perform well in cool climates. Examples customarily found in the valley include Riesling, Pinot Noir, Merlot, Pinot Gris, Gewürtraminer, and Chardonnay. In recent years, Hybrid grapes, a crossing of two or more Vitis vinifera species, have gained a foothold. This is primarily due to the ability of Hybrids to withstand colder winter temperatures and weather extremes, including a high tolerance to mildew and fungal diseases.
I quickly decided to plant Pinot Noir and Riesling. From my years visiting the valley and talking to local growers, it was clear that both varietals did well. The rich and storied history of French Pinot Noir Burgundies and German Riesling spoke to me.
Before ordering vines, I needed to know more than just the grape variety. I also had to affirm the type of vines to plant. There are two customary choices: vine cuttings or grafted rootstock.
A cutting involves growing a new vine from an existing dormant vine cane. Growing vines from cuttings is a less expensive and faster method for establishing a vineyard. Cuttings can be ordered from nurseries or, better still, collected from local growers as they prune their vines in winter and early spring.
Grafted rootstock joins two vine varieties: the roots and stem of one, to the stem of another (the scion). This technique is primarily used to combat phylloxera. Phylloxera is a microscopic insect that infects grape vine roots and leaves. It turns out that wild American grape vines are resistant to phylloxera. However, Vitis vinifera had never been exposed to the pest until people brought American vines to Europe in the mid-19th century. Over 30 years, it spread throughout Europe, destroying vineyards. There was no cure. Over time, it was discovered that American grapevine roots were resistant to Phylloxera. The practice of grafting Vitis vinifera onto American roots saved the wine world as it was known at the time.
To this day, the safest approach to growing Vinifera grapes begins with using American rootstock.
If you thought it was time to order the vines, think again. I also needed to decide which rootstocks and vine clones to use.
Rootstocks are matched to regional soil types and conditions. A DIY Jar test can help confirm the soil composition by identifying the proportions of the three primary soil components: sand, silt, and clay. The ideal mixture is loam, as found in the soil textural triangle (image below). Knowing the soil type helps inform irrigation needs and potential soil amendments. The test involves retrieving dirt from at least a foot deep in several locations within the vineyard site, and mixing it with water in a glass jar. Within 24 to 48 hours, the three primary layers can be distinguished. A high sand percentage suggests more significant irrigation needs, whereas a high clay percentage has the opposite effect. High clay is also prone to soil compaction, which can be an issue for vine roots. Extremes in either direction indicate the need for organic soil amendments and the use of specific rootstocks. When I calculated the ratios of the three layers and applied them to the soil triangle, the result was sandy clay loam.
While not loam outright, it would be fine for the vineyard.


I also consulted Steve Steese of The Storm Cellar about their soil and vineyard practices. The Storm Cellar is located nearby on Sunshine Mesa, across a small valley from us. Steve and his wife, Jayme Henderson, purchased their large vineyard in 2017. Both had worked as sommeliers in Denver and were passionate about crafting terroir-driven white and rosé wines. They established their winery in 2018. In talking with Steve, I first learned of caliche. Caliche is a common soil feature in the valley, typically found in semi-arid climates like ours. Caliche is a layer of mineral matter, generally composed of calcium carbonate, that can be soft or cement-like, restricting root growth and subsurface water movement. If a hard layer of it presents when planting, I learned you should plant the vines with the roots below the caliche. I hadn't encountered caliche with my test holes, but that wasn't proof it didn't exist in my site.
Vine clones refer to a source "mother" vine. Clones are developed to exhibit desired vine and grape characteristics, typically matched to a region’s climate and growing conditions. For example, there are numerous Pinot Noir clones, which have been carefully cultivated over several generations in various areas of the Burgundy region in France.
To avoid blindly tossing darts at a target, I needed advice on the rootstock and clones commonly used in the area. I was leaning towards the rootstock 1103P (berlandieri x rupestris), due to its affinity for drought tolerance and growing well in more alkaline soils (think caliche). After asking around, I found a local hobbyist who tended a vineyard and made wine near Cedaredge, a few miles from the valley. He had extensive experience growing vines and provided several recommendations for clones and rootstocks. He pushed me towards rootstock 101-14 (riparia x rupestris), which does well in clay soils and is used extensively in the valley. He also recommended using Pommard or Dijon Pinot Noir clones. With his recommendations in hand, I researched and found a national nursery that could fulfill my order for grafted rootstock vines.
The next dilemma on my list was determining how to dig the holes for the grafted rootstock. Many people use a shovel or a one— or two-person post hole digger with a 9-inch or 12-inch auger. Digging the holes for the soil test taught me that using a shovel wouldn’t be an efficient method. A pickaxe was required to loosen larger stones when digging by hand.
During my information collection stage, someone mentioned the possibility of trenching. I spoke with a local contractor who could trench 12 to 16 inches deep, including dealing with stones. My hesitancy centered on the effort required to plant rootstock in long trenches and backfill them by hand.
Someone else suggested “ripping” the soil. Ripping involves a tractor pulling an apparatus with large downward claws that tears the soil 12 to 18 inches deep. Theoretically, ripping could make it easier to dig holes and provide looser soil for vine root growth. I researched local farmers with the machinery and expertise, to little avail.
I felt like I was grasping at straws.
For years, a frequent stop on our visits to the valley was Orchard Valley Farms and Black Bridge Winery. You could shop at their farmers market, taste wine, and have a picnic along the banks of the North Fork Gunnison River. The owners, Lee Bradley and his wife, Kathy, moved to the valley in the 1980s. Over the years, they developed a family-owned working farm that included orchards, vineyards, a winery, a farm market, and a wine-tasting room. In 2024, working with the Colorado Land Trust, Lee placed a conservation easement on his 55 acres.
Lee is well-versed in all aspects of viticulture, so I hoped his knowledge and wisdom would help me choose the right straw.
I wasn’t disappointed.
Lee related that ripping may cause more problems than it solves. There would be issues in dealing with the aftermath. A substancial amount of rocks would be strewn about and require removal. Large chunks of soil would also be scattered about and take a significant amount of time to settle. Instead of ripping, he suggested using a backhoe with a small bucket to dig 2-foot-deep holes. The holes would provide plenty of room for the vine roots to grow.
Even as a DIY'er, I knew renting and operating a backhoe wasn’t in the cards for me. As I pondered the situation, the idea of using an auger as an alternative to a backhoe bucket came to mind. I soon found a local farmer with a skid steer loader that could operate a 24″ diameter auger.
My vineyard gyrations had brought me to late April. The grafted rootstock was scheduled to arrive in two weeks. My last planning task involved measuring and sketching the vine rows to fit the site. Based on my research, I determined that the optimal vine spacing should be 4 feet apart along the rows and 8 feet between rows. I also planned to orient the rows along a north-south line to equalize the vines' exposure to sunlight from east and west.
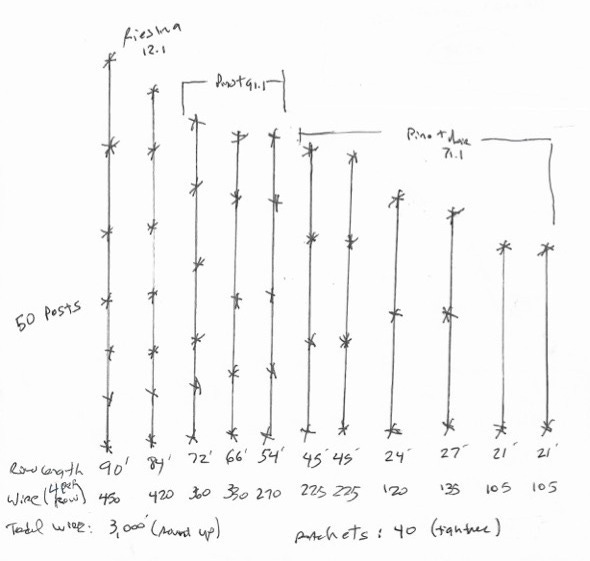
I quickly learned this task should have been performed before ordering the vines. My previous calculation was based on walking the site. When dimensions were applied, only 120 vines could fit.
I decided to delay the trellis installation till spring, after the first year of vine growth. A trellis wasn’t required during the first summer, since a six-foot stake could handle the expected vine growth. In the following spring, the first-year vine would be pruned down close to the ground anyway, making it easy to install the trellis.
The last vineyard task I also decided to postpone was constructing a wildlife fence. Elk, especially deer, are prone to eating vines, but their forage usually occurs from late fall to early spring. This could wait until fall.
With the grafted rootstock arriving in a few days, it was time for implementation. As General and President Dwight D. Eisenhower would one day quip, "good planning without good working is nothing.”
Mr. John knew the maxim well. In his mid-seventies and I just a young boy, we'd set out together to mow his extensive lawn filled with various obstructions, whether trees, shrubs, or ornaments. He'd plan the route, making the first pass with the mower to outline a quadrant. He would then turn the mower over to me, and I would follow his set path, mowing the interior of the quadrant. With each pass, the mowing area would get smaller until it dwindled to nothing—the most satisfying part of the mow.
Time to get to good working.
Next - Chapter 4: Vineyard Planting
Great read, Marshall. So much planning and research required before the first plant. It must be great having neighbors who are willing to share expertise and support your dream! Your grandfather would be proud. Looking forward to the next chapter.
thanks for the tribute to your grandparents! enjoyed reading about your choices along the way. what did you do with the 40 extra vines?